IntegrationsGuides
First steps: connect your store and check your data
A step-by-step guide
Good analysis starts with a reliable connection. Before reviewing profit or customer behaviour, check that Shopstato receives orders from the correct store.
What to prepare
A WooCommerce store with access to WordPress administration, or a custom store with a developer who can set up the API connection.
Step by step
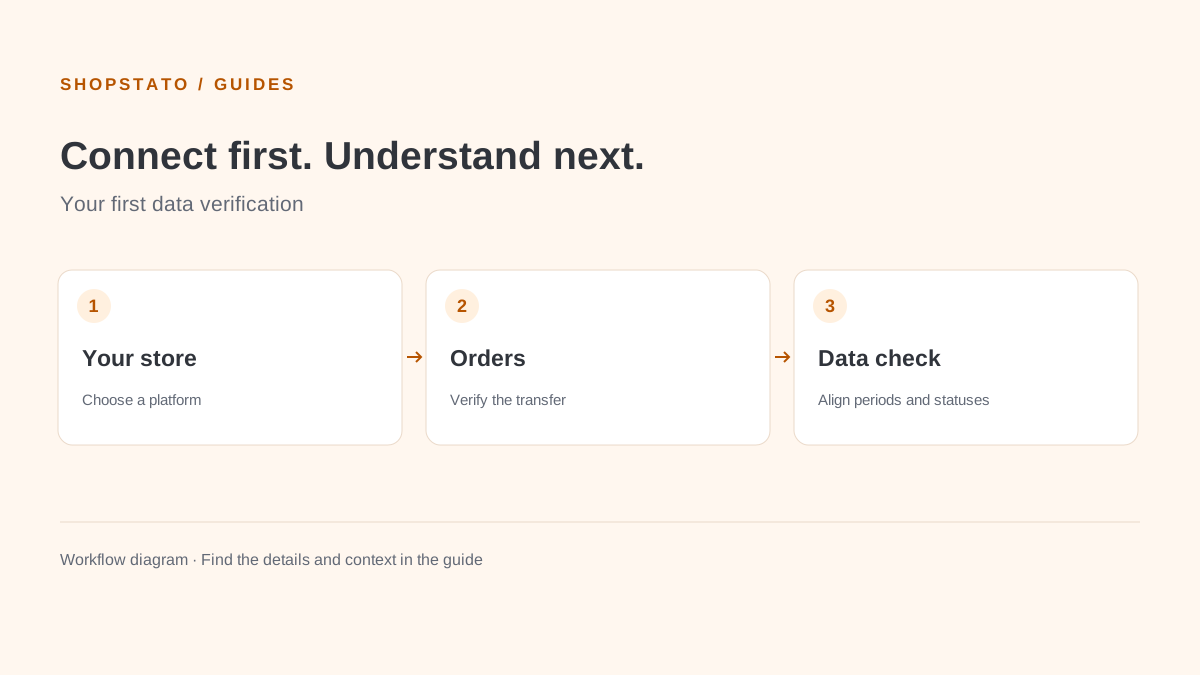
- Choose the WooCommerce plugin or a custom API integration for your store.
- Follow the WooCommerce plugin guide, or configure your custom store using the API guide. These are the two supported integration options for the English service.
- Once connected, check that orders appear in the overview.
- Choose a short, completed period and compare several orders with your store administration.
What to consider when interpreting the result
Use the same period and order statuses when comparing totals. A difference can be caused by cancelled orders being included in one report and excluded from another.
Continue in the application
Application links require sign-in. Access to a report depends on your permissions and the relevant module.
Source: Shopstato help centre . This English guide adds practical context and examples from English video tutorials.